Mounting your turkey fan can be an easy and rewarding process. It’s one of the best ways to display your trophy from a successful hunt. There are many options for fan mounting, from bare basics to the polished look of a mounting kit.
What You’ll Need
Aside from the turkey fan, you’ll need some Borax, a knife, glue, a solid work surface, and wire or pins. For a nice wall display, use a mount that holds the fan tightly and doesn’t allow any movement.
Cleaning the Fan
First, you’ll need to cut the remaining meat, tailbone, and fat from the back side of your fan at the secondary feathers. Remove as much meat and fat as possible. You should see the feather ends once the meat and fat are removed.

Then you can clean the fat and oils from feather pins with a wire brush.
Apply Borax to the remaining flesh to dry it out and prevent it from rotting and attracting bugs.
Lay Out the Fan
There are a few options to lay out the fan for mounting. You can pin it to cardboard and let it dry naturally before mounting it. You can wire it together. Or you can glue it together with an automotive filling compound.
If you use the natural drying process, it will take 2-3 weeks before your fan is ready to mount. If you use a filling compound, it will take 30 minutes before your fan is ready to mount.
You’ll want to lay your fan out to its final position before you let it dry. Hold it in place with paperweights or painter’s tape so it doesn’t move during the drying process. Once your fan is dry, it’s ready to mount.
Mount Your Fan
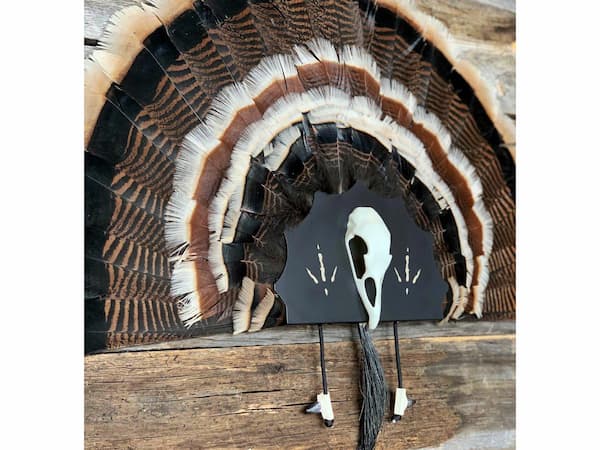
Secure the fan into a solid mount, like the Allen Hunting Turkey Tail Fan Mounting Kit, then hang it on the wall in a prominent area for display. It’ll be ready for everyone who sees it to ask for the story about how you harvested that beautiful bird.

